
10 Simple Makeup Hacks to Enhance Your Natural Beauty for a Radiant Look
We all want to look our best while embracing our natural beauty. Sometimes, it just takes a few simple tricks to elevate our everyday makeup routine. I’ve discovered some easy hacks that can transform how you apply makeup, making it effortless to enhance your features without masking them.
Overview of Natural Beauty
Natural beauty emphasizes authenticity, celebrating unique features and enhancing rather than masking them. It encourages a minimalistic approach, focusing on radiant skin, well-groomed brows, and a hint of color to highlight one's natural attributes.
I embrace techniques that elevate my innate charm while ensuring I look fresh and vibrant. Simple methods, such as using sheer foundations and creamy blushes, enhance skin texture and add a healthy glow. Such products blend seamlessly, offering coverage without heaviness.
Enhancing natural beauty also involves proper skincare. A well-maintained skincare routine lays the foundation, ensuring skin remains hydrated and luminous. Incorporating sunscreen protects against sun damage while promoting overall skin health.
Employing makeup hacks effectively boosts confidence. Techniques, like applying highlighter on high points of the face or curling lashes, create an open-eyed, awake appearance. These small adjustments illuminate features and provide a polished look without extensive effort.
Overall, this focus on showcasing natural beauty allows anyone to feel confident and radiant every day.
Makeup Hack #1: Use a Tinted Moisturizer
A tinted moisturizer combines skincare and makeup, delivering a natural finish. This product enhances my skin while providing hydration and sun protection.
Benefits of Tinted Moisturizer
Hydration: Tinted moisturizers contain ingredients like glycerin or hyaluronic acid, ensuring my skin stays hydrated throughout the day.
Light Coverage: They offer a sheer tint, evening out my skin tone without heavy layers.
SPF Protection: Many tinted moisturizers include sun protection factors (SPF), safeguarding my skin against UV rays.
Natural Glow: These products impart a dewy finish, giving my complexion a fresh and radiant look.
Convenience: Applicability is quick and simple, making them ideal for busy mornings or minimal makeup days.
Application Tips
Prep Skin: I start with a clean, moisturized face to enhance the tinted moisturizer's blendability.
Use Fingers or Sponge: I apply the product with my fingers for a more natural finish or use a damp sponge for a flawless blend.
Start Small: I use a pea-sized amount, building up coverage if needed, ensuring a lightweight feel.
Focus on Areas: I concentrate on areas needing more coverage, like blemishes or redness, and blend outward for a seamless look.
Set with Powder: If desired, I lightly dust translucent powder on oily areas for a matte finish without compromising the glow.
Makeup Hack #2: Brighten Your Eyes with White Eyeliner
White eyeliner can transform your look by making your eyes appear larger and more awake. This simple addition to your makeup routine enhances your natural beauty effortlessly.
Choosing the Right Eyeliner
Selecting the right white eyeliner is essential for optimal results. Look for a creamy formula that glides on smoothly and provides good coverage. Consider options like gel, pencil, or liquid eyeliner, depending on your preference for application and finish. Verify that the formula is long-lasting and does not smudge easily, ensuring your bright-eyed look lasts all day.
How to Apply
Applying white eyeliner can be straightforward. Here’s a step-by-step guide:
Prep your eyes: Start with clean and dry eyelids for the best adherence.
Line your waterline: Gently lift your eyelid and carefully apply the white eyeliner to the lower waterline. This step instantly opens up the eyes.
Highlight the inner corners: Add a small dot or line of white eyeliner to the inner corners of your eyes. This technique brightens and lifts the overall appearance.
Blend for a softer look: If desired, use a small brush or your fingertip to blend the eyeliner for a more natural look.
Experiment with different placements and intensities to find what enhances your features best. Incorporating white eyeliner into your makeup routine creates a fresh and inviting appearance while showcasing your natural beauty.
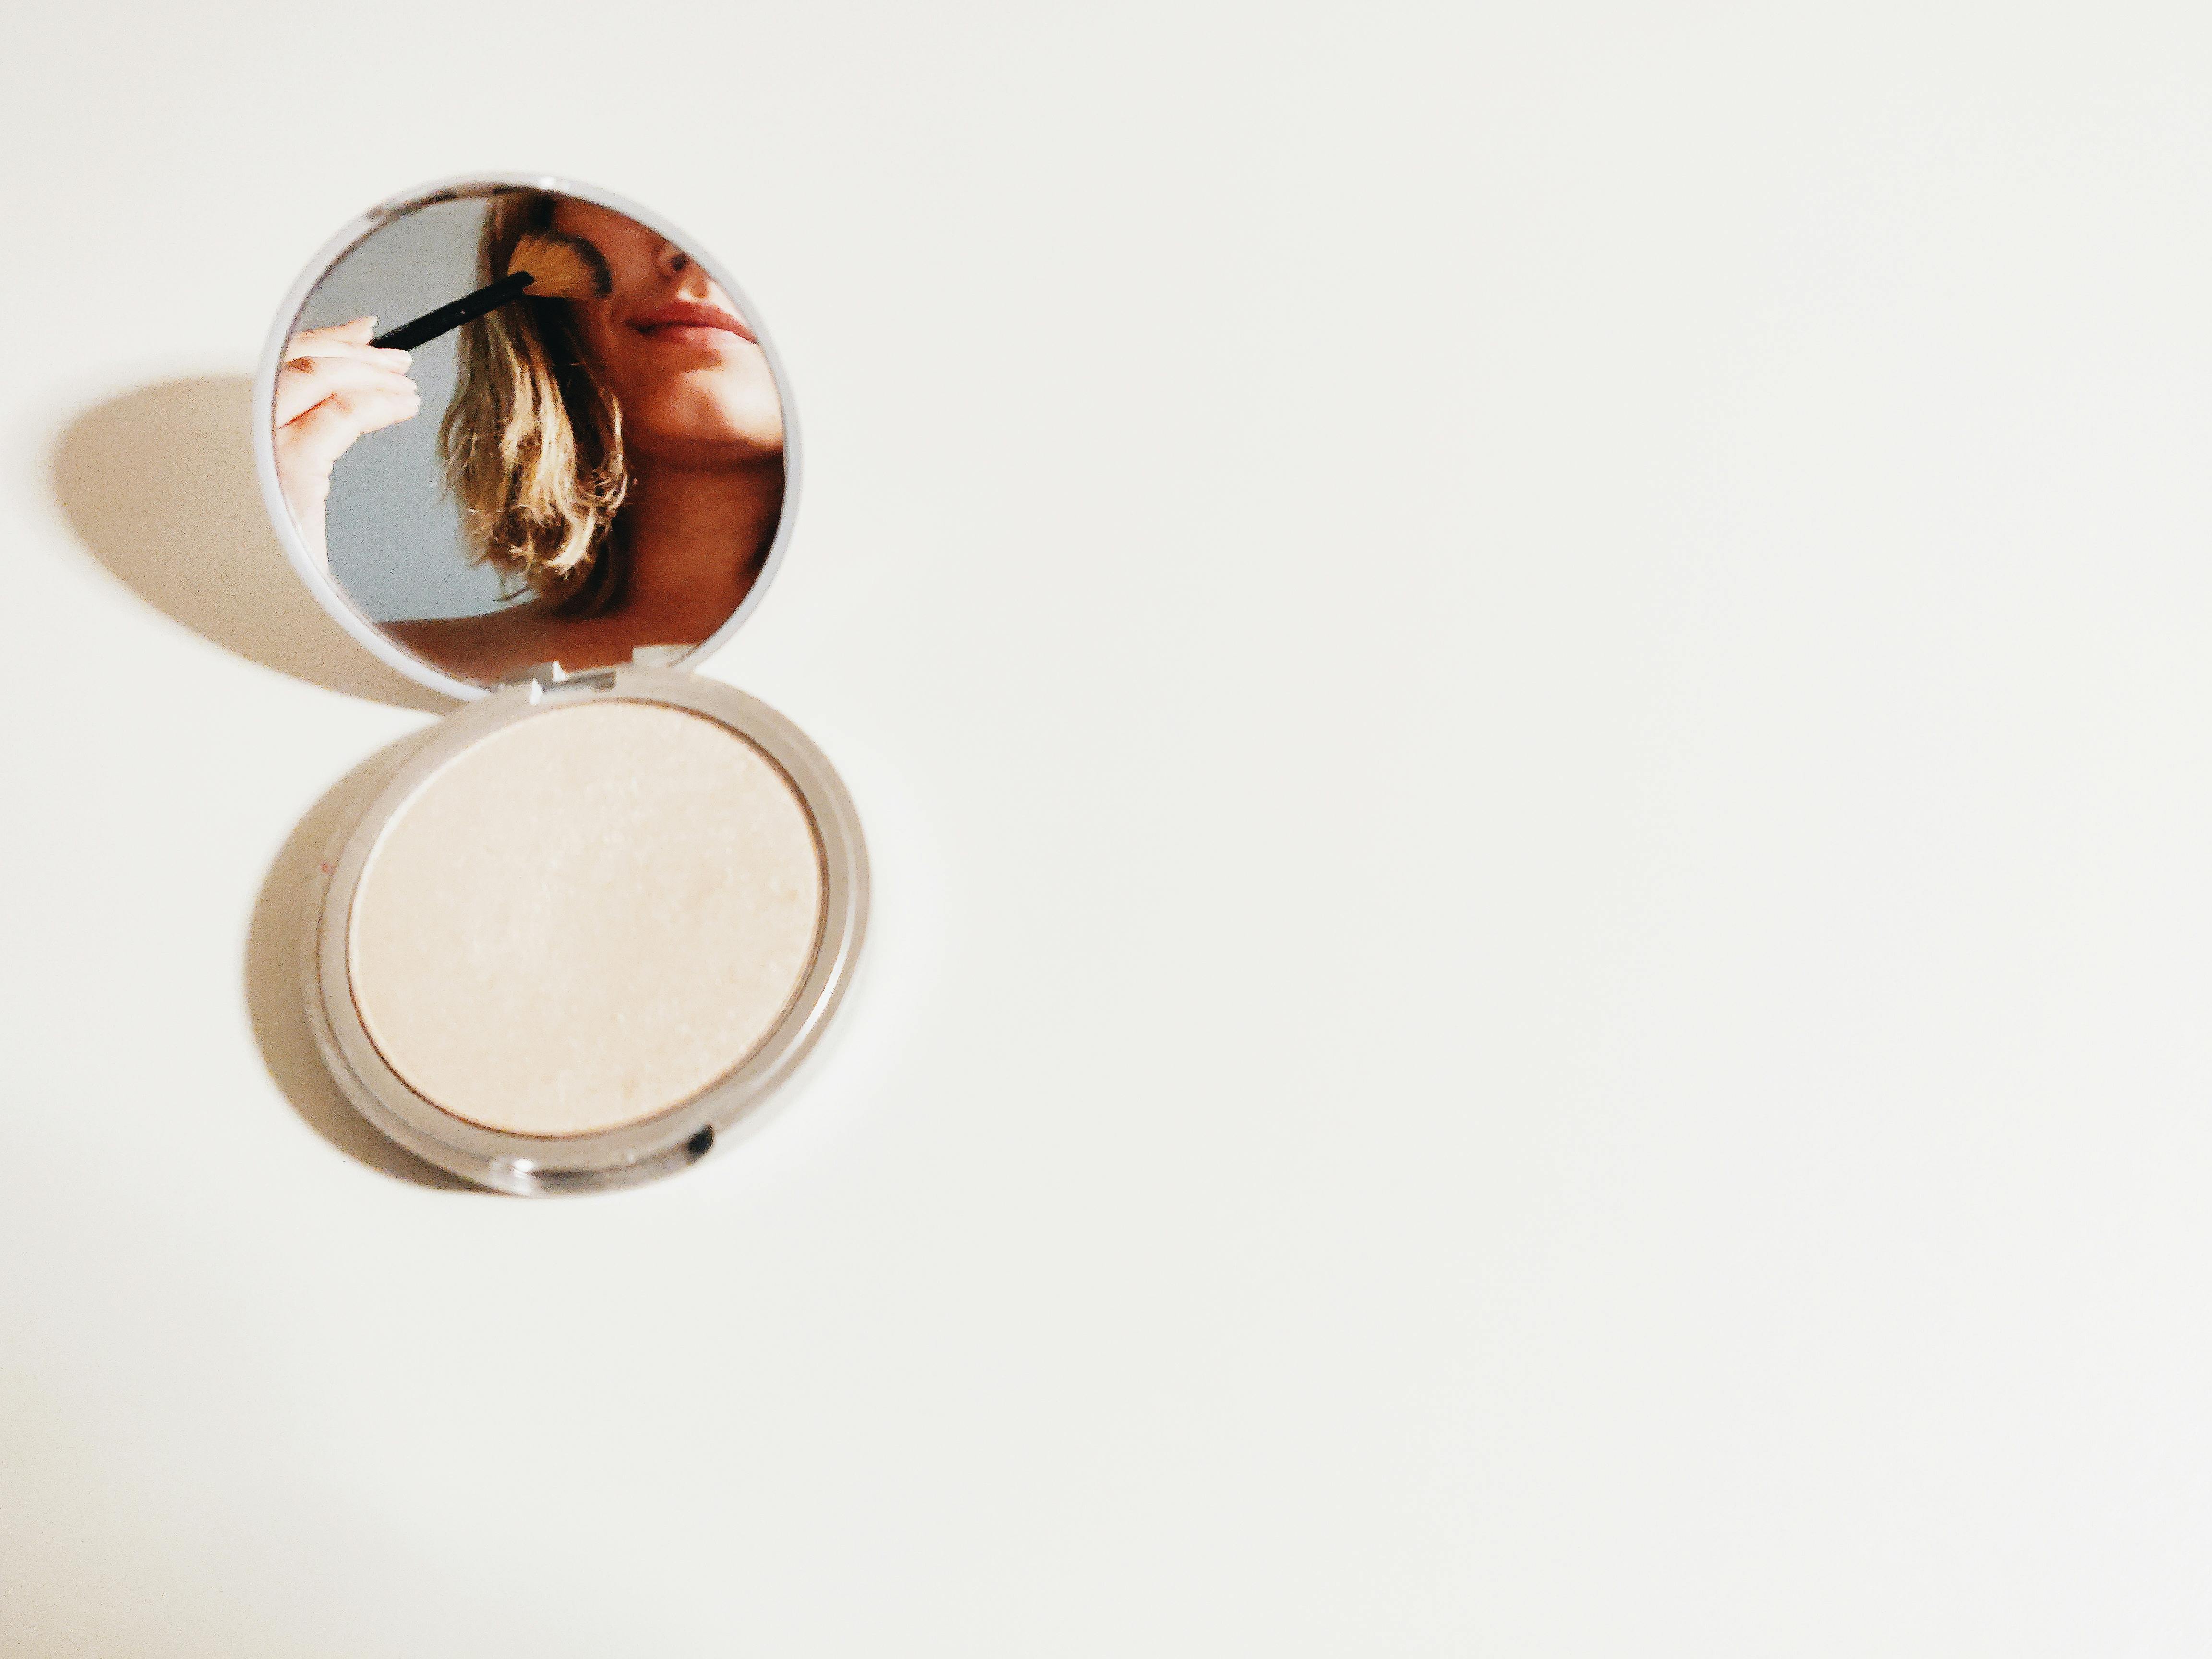
Makeup Hack #3: Highlight Your Cheekbones
Highlighting your cheekbones adds dimension and radiance to your face, enhancing your natural beauty effortlessly. A focused approach ensures a striking yet subtle effect.
Products to Use
Highlighter: Choose a cream or powder highlighter that complements your skin tone. Shades like champagne or soft peach suit many complexions.
Blush: A cream blush adds an extra pop of color while blending seamlessly with highlighters. Select soft pinks or corals for a natural finish.
Setting Spray: A dewy setting spray adds longevity and vibrancy, keeping your look fresh throughout the day.
Application Technique
Prep Your Skin: Start with a clean and moisturized face to enhance the highlighter’s effect.
Apply Blush: Smile to find the apples of your cheeks, then apply blush, blending it toward your temples for a lifted appearance.
Highlight Concisely: Dab highlighter directly on the cheekbones and blend upward, avoiding heavy application. Use your fingertip or a small brush for precision.
Layer Sparingly: For more intensity, build up the highlighter in thin layers. This approach creates a natural glow without overwhelming the skin.
Check the Light: Assess your look in natural light to ensure your highlight enhances, not distracts from your features.
With these techniques and products, I create naturally radiant cheekbones that enhance my overall look effortlessly.
Makeup Hack #4: Use Lip Balm for a Natural Lip Tint
Using lip balm as a natural lip tint enhances your lips while keeping them hydrated. This simple hack provides a subtle pop of color and a fresh look.
Choosing the Right Lip Balm
I focus on selecting a lip balm that boasts a sheer tint rather than a thick formula. Look for products containing natural ingredients like shea butter, coconut oil, or vitamin E. These elements ensure nourishment while delivering a hint of color. Opt for shades that complement your skin tone, such as soft pinks for fair skin or berry tones for deeper complexions. Brands like Burt’s Bees and Nivea offer excellent options that balance moisture and pigmentation.
Tips for Application
Prep your lips: Start with clean, exfoliated lips to ensure smooth application.
Dab lightly: Instead of applying directly from the tube, use your finger to dab a small amount of balm onto your lips. This method yields a softer, more blended result.
Layer if needed: For a deeper tint, I recommend layering the balm. Apply one coat and wait a moment before adding another, allowing the color to build gradually.
Focus on the center: Concentrate application on the center of your lips, blending outward for a natural ombre effect.
Finish with a gloss: If desired, apply a clear lip gloss on top for extra shine without altering the tint.
Using these tips, I find it easy to achieve a natural, effortless look that enhances my features while keeping my lips hydrated and vibrant.
Makeup Hack #5: Blend Your Foundation Well
Blending foundation properly creates a seamless look that enhances natural beauty. It ensures an even skin tone while avoiding a cakey appearance.
Tools for Blending
Brush: A flat foundation brush provides coverage with a polished finish. Use short strokes for even distribution.
Sponge: A damp beauty sponge offers a more natural, airbrushed effect. Bounce the sponge over the skin for seamless blending.
Fingers: Using my fingers allows for warmth and easy melting of the product into the skin. Pat and rub product gently for a customized finish.
Common Mistakes to Avoid
Using Too Much Product: Overapplication leads to a heavy look. Start with a small amount and build coverage as needed.
Ignoring Skin Prep: Skipping moisturizer results in patchiness. Always prep skin with a suitable moisturizer for hydration and smooth application.
Blending in Poor Lighting: Blending in dim light can cause uneven patches. Check your foundation in natural light to ensure an even finish.
Not Matching Undertones: Choosing the wrong undertone creates an unnatural effect. Select foundation shades that complement my skin’s undertones for the best results.
Makeup Hack #6: Add a Pop of Color with Blush
Blush adds freshness and warmth to the face, enhancing natural beauty effortlessly. It creates a youthful look while accentuating cheekbones.
Selecting the Right Shade
Choosing the right blush shade is crucial for a seamless finish. Stick to shades that mimic a natural flush, such as soft pinks, corals, or peaches. Fair skin looks great with light pink or peach hues, medium skin benefits from rose or peach shades, and deeper skin tones shine with berry or deeper rose colors. Testing blush on the apples of the cheeks in natural light helps determine the most flattering shade.
Application Tips
To apply blush effectively, follow these steps:
Prepare the Skin: Ensure skin is clean and moisturized before application.
Use the Right Tools: Opt for a fluffy brush for powder blush or a stippling brush for cream formulas.
Apply to the Apples of the Cheeks: Smile to find the apples of your cheeks, then gently dab the blush.
Blend: Use circular motions to blend outward toward the temples for a natural finish.
Build Gradually: Start with a small amount of product and build up for desired intensity.
Check in Natural Light: Inspect your makeup in daylight to ensure the blush complements your features without overpowering them.
Incorporating blush into your routine enhances your overall look, providing a simple yet effective way to highlight your natural beauty.
Makeup Hack #7: Emphasize Your Brows
Emphasizing brows frames the face and enhances natural beauty. Well-groomed brows can transform an entire look while drawing attention to the eyes.
Tools for Brow Enhancement
Brow Pencil: Choose a pencil that matches your natural color. It offers precision for filling in sparse areas.
Brow Gel: Use a clear or tinted gel to set brows in place. It adds texture and keeps hairs looking polished.
Tweezers: Keep a pair handy for removing stray hairs. This tool ensures your brows maintain their desired shape.
Brow Brush: A spoolie or brow brush helps comb through hairs. It allows for a natural, well-groomed appearance.
Highlighting Pencil: Applying a highlighting pencil under the brow bone defines the arch. This enhances the overall brow effect.
Tips for Shaping
Determine the Shape: Assess your face shape to find the most flattering brow design. For example, softer arches suit round faces, while angled brows work well for square faces.
Map the Brows: Use a pencil to mark key points: the start, arch, and tail. This mapping guides the shaping process.
Go Slow: Remove hair gradually to avoid over-plucking. Taking your time helps achieve the ideal shape.
Follow Natural Growth: Shape brows according to their natural growth pattern. This approach maintains a more authentic look.
Consider Professional Help: When in doubt, consult a professional. A brow stylist can provide tips tailored to individual needs.
Makeup Hack #8: Natural Eyeshadow for Everyday Looks
Creating a natural eyeshadow look boosts my everyday makeup routine. This simple hack enhances my eyes while maintaining authenticity.
Best Shades for Natural Looks
Choosing the right eyeshadow shades makes a significant difference. Neutral tones like taupe, soft browns, and warm peaches complement most skin tones. Shimmer shades in champagne and gold can add a touch of brightness without overwhelming the eye. Opting for matte finishes provides a subtle elegance, while satin textures add a hint of sheen. For deeper skin tones, rich shades like bronze and aubergine work well to create depth while enhancing natural beauty.
Application Techniques
Applying eyeshadow effectively ensures a polished look. Start with a primer to create a smooth base and increase longevity. Use a flat brush for applying a base color across the lid, extending to the crease. Switch to a blending brush to diffuse the color, softening any harsh lines. For a touch of dimension, apply a slightly darker shade in the outer corner, blending it into the crease. Finish with a soft, shimmery shade on the inner corners to brighten the eyes. Using a small brush, gently pat the shimmer to ensure an even application. This technique allows me to achieve a natural, everyday eyeshadow look effortlessly.
Makeup Hack #9: Setting Your Makeup
Setting makeup effectively ensures it stays in place throughout the day, enhancing your natural beauty without the need for constant touch-ups. A few key products and techniques can make a significant difference.
Products to Use
Setting Spray: Select a high-quality setting spray for a long-lasting finish. Look for formulas suited to your skin type, whether dewy, matte, or hydrating.
Translucent Powder: Use a lightweight translucent powder to set areas prone to shine. Apply it lightly with a fluffy brush for a natural look.
Setting Powder: Choose a setting powder infused with skin-loving ingredients for added benefits. Press it lightly onto the skin using a damp sponge for a flawless finish.
Blotting Papers: Keep blotting papers handy for quick oil control without disrupting makeup during the day.
Importance of Setting Spray
Setting spray locks in makeup and provides a protective layer against environmental factors. It prevents smudging and fading, allowing for a fresh look from morning to evening. Applying the spray after makeup application can help reduce the appearance of powdery finishes, enhancing overall radiance. For best results, hold the spray about 8-10 inches from your face and mist evenly in an "X" and "T" formation to cover all angles.
Makeup Hack #10: Simple Skincare Routine
A simple skincare routine significantly enhances natural beauty. By prioritizing skin health, I create a smooth canvas for makeup, making every application effortless.
Key Steps in Skincare
Cleansing: Use a gentle cleanser twice daily to remove dirt and impurities. This prevents breakouts and keeps skin clear.
Exfoliating: Exfoliate 1-2 times a week with a suitable scrub or chemical exfoliant. This step removes dead skin cells and promotes cell turnover.
Toning: Apply a toner after cleansing to balance skin's pH levels. Toners minimize pores and prepare skin for the following skincare products.
Moisturizing: Use a moisturizer that suits my skin type. Hydrated skin enhances makeup application and improves overall appearance.
Sunscreen: Apply sunscreen daily, even on cloudy days. SPF prevents premature aging and protects skin from harmful UV rays.
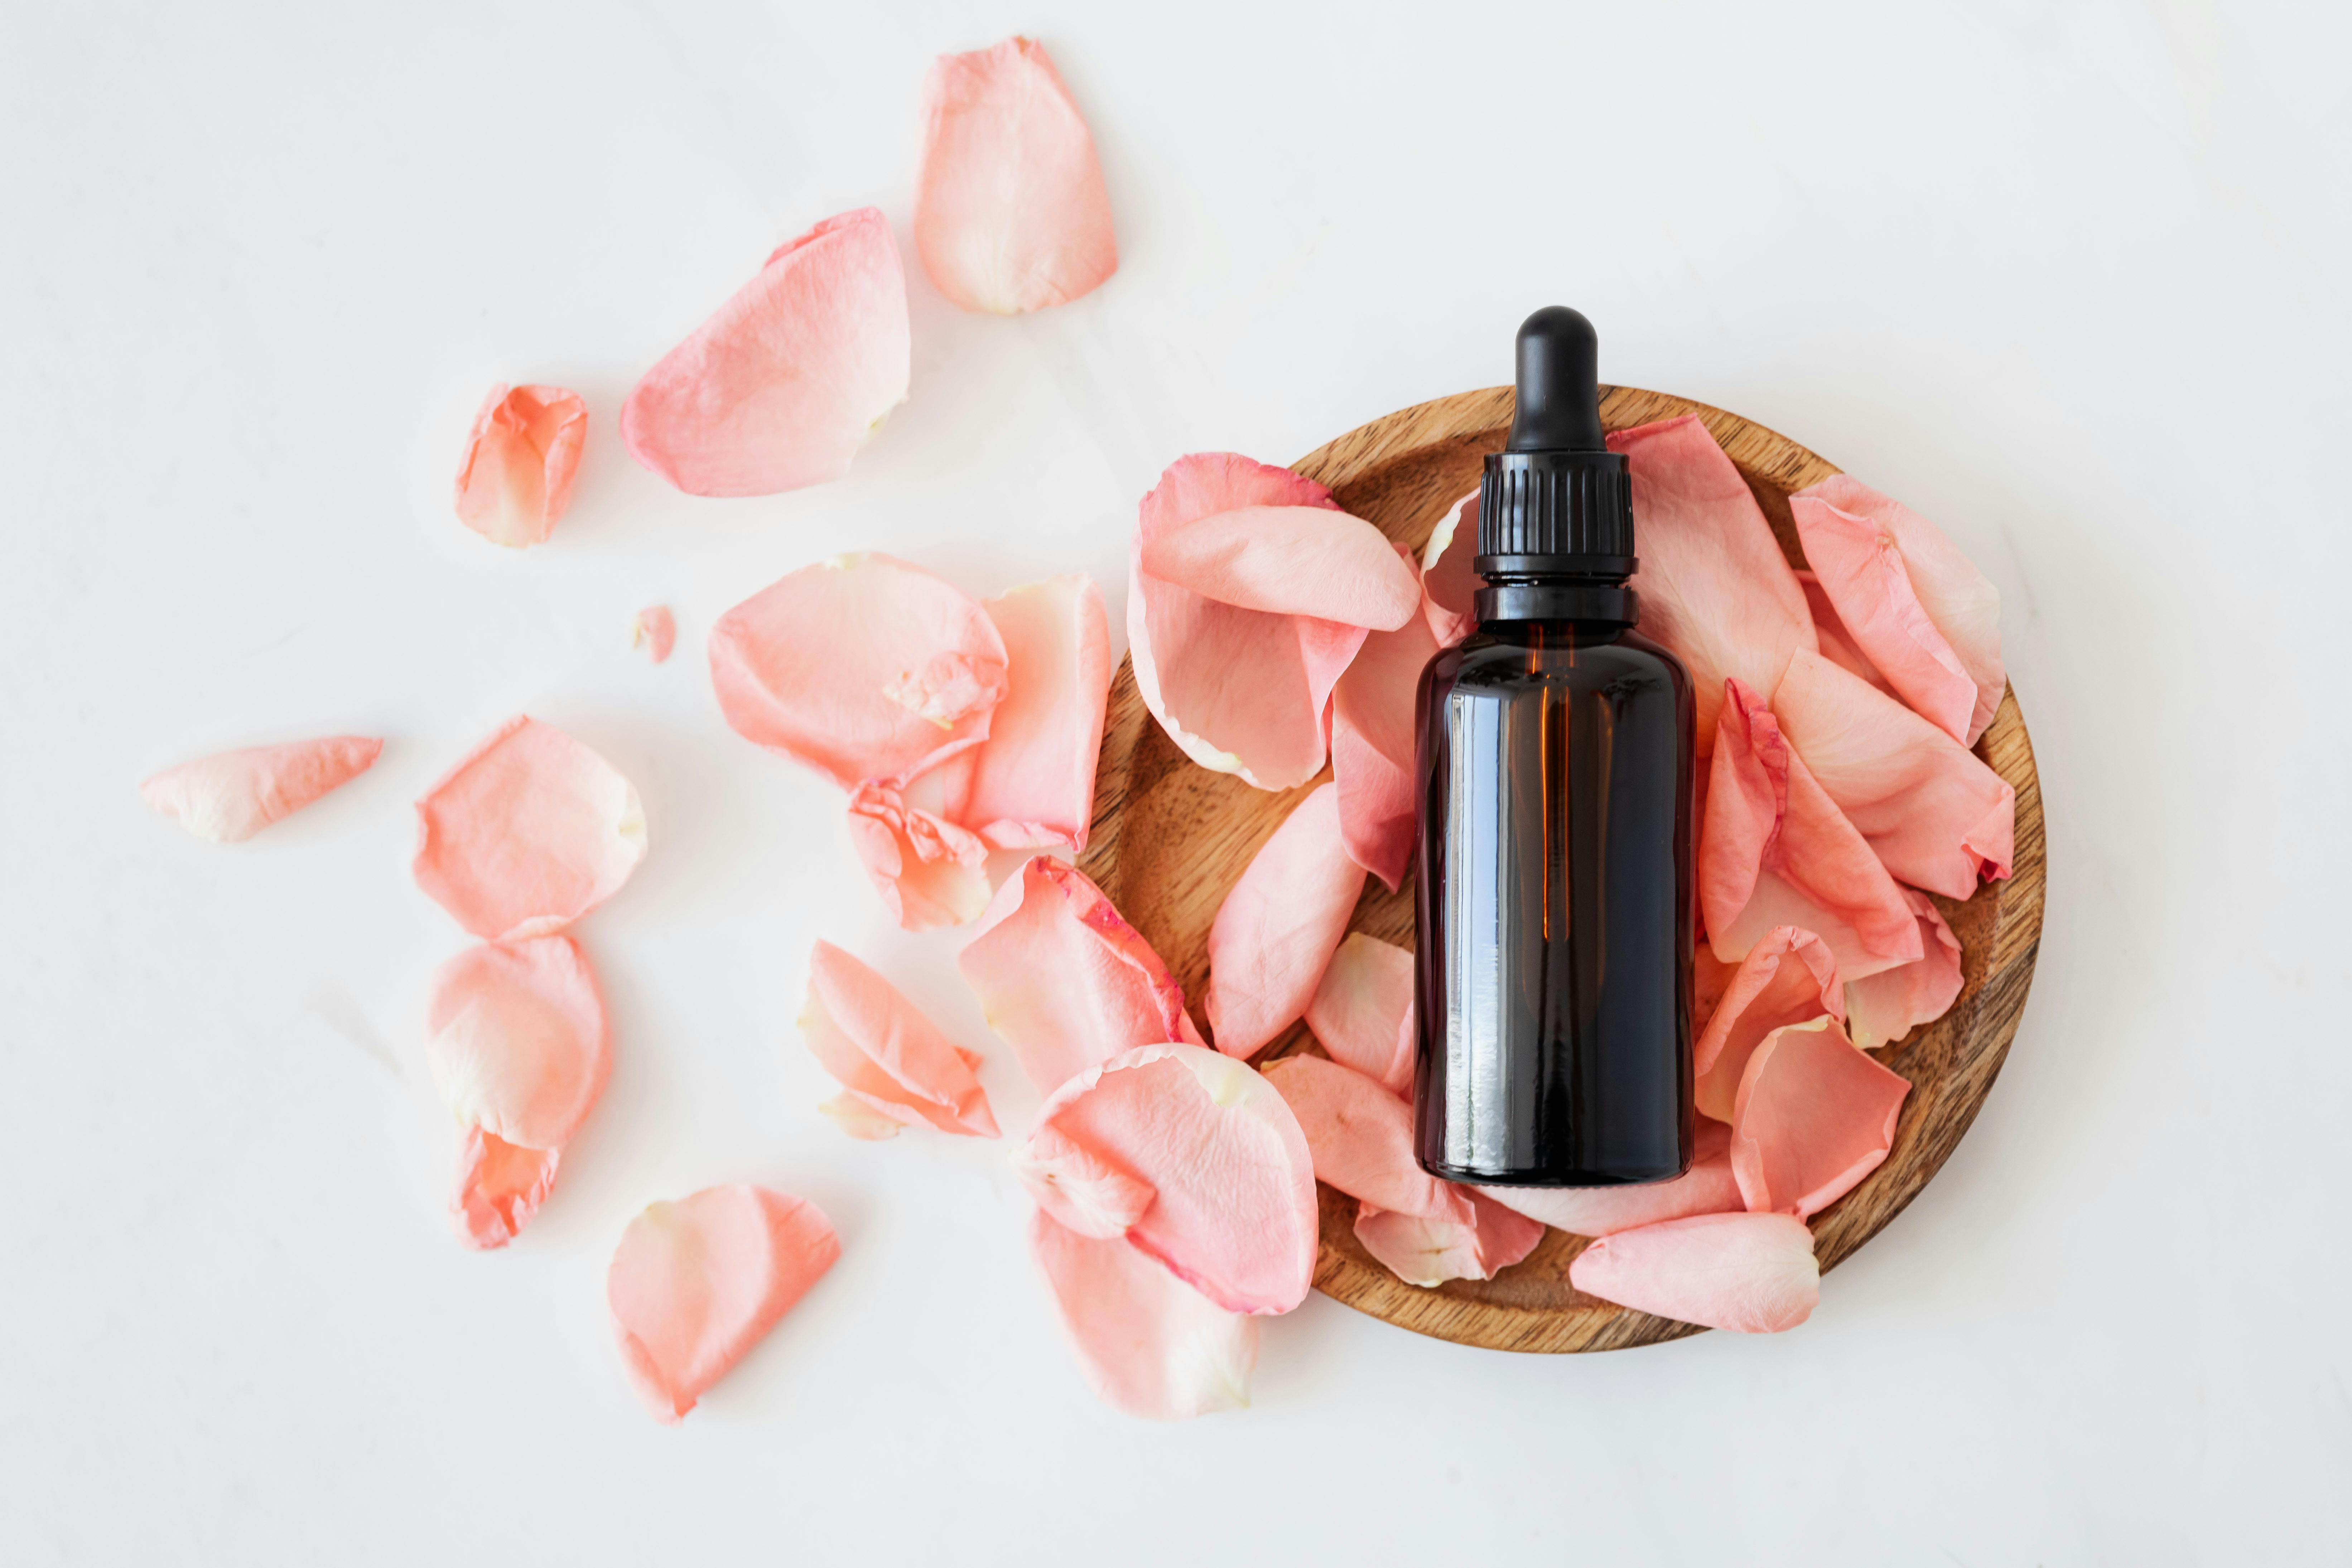
Importance of Hydration
Hydration remains crucial for healthy skin. Drinking enough water daily promotes skin elasticity, preventing dryness and dullness. Additionally, hydrating products like serums or moisturizers with ingredients such as hyaluronic acid or glycerin attract and retain moisture. Proper hydration reduces the appearance of fine lines and enhances that natural glow, making makeup look more radiant and fresh.
Conclusion
Embracing your natural beauty doesn’t have to be complicated. With these simple makeup hacks, I’ve found ways to enhance my features while keeping that fresh and authentic look. By focusing on radiant skin well-groomed brows and a touch of color I can easily boost my confidence every day.
Incorporating skincare into my makeup routine has made a noticeable difference too. Whether it’s using tinted moisturizers or adding a pop of blush I’ve learned that small changes can create a big impact.
Remember it’s all about celebrating what makes you unique. With a few tricks up your sleeve you can effortlessly highlight your natural beauty and feel fabulous in your own skin.
You should also read:
Unlock Your Glow: Essential Relaxation Techniques for Effective Self-Care
In today’s fast-paced world, taking time for ourselves often feels like a luxury we can’t afford. Yet, self-care is essential for maintaining our well-being and radiance. I’ve discovered that incorporating simple relaxation techniques into my routine can truly boost my glow, both inside and out.
Continue reading...
Common Beauty Mistakes and How to Avoid Them for a Flawless Look
Navigating the world of beauty can feel overwhelming, especially with countless products and trends vying for our attention. I've made my fair share of beauty blunders, and trust me, I know how frustrating it can be to invest time and money only to end up…
Continue reading...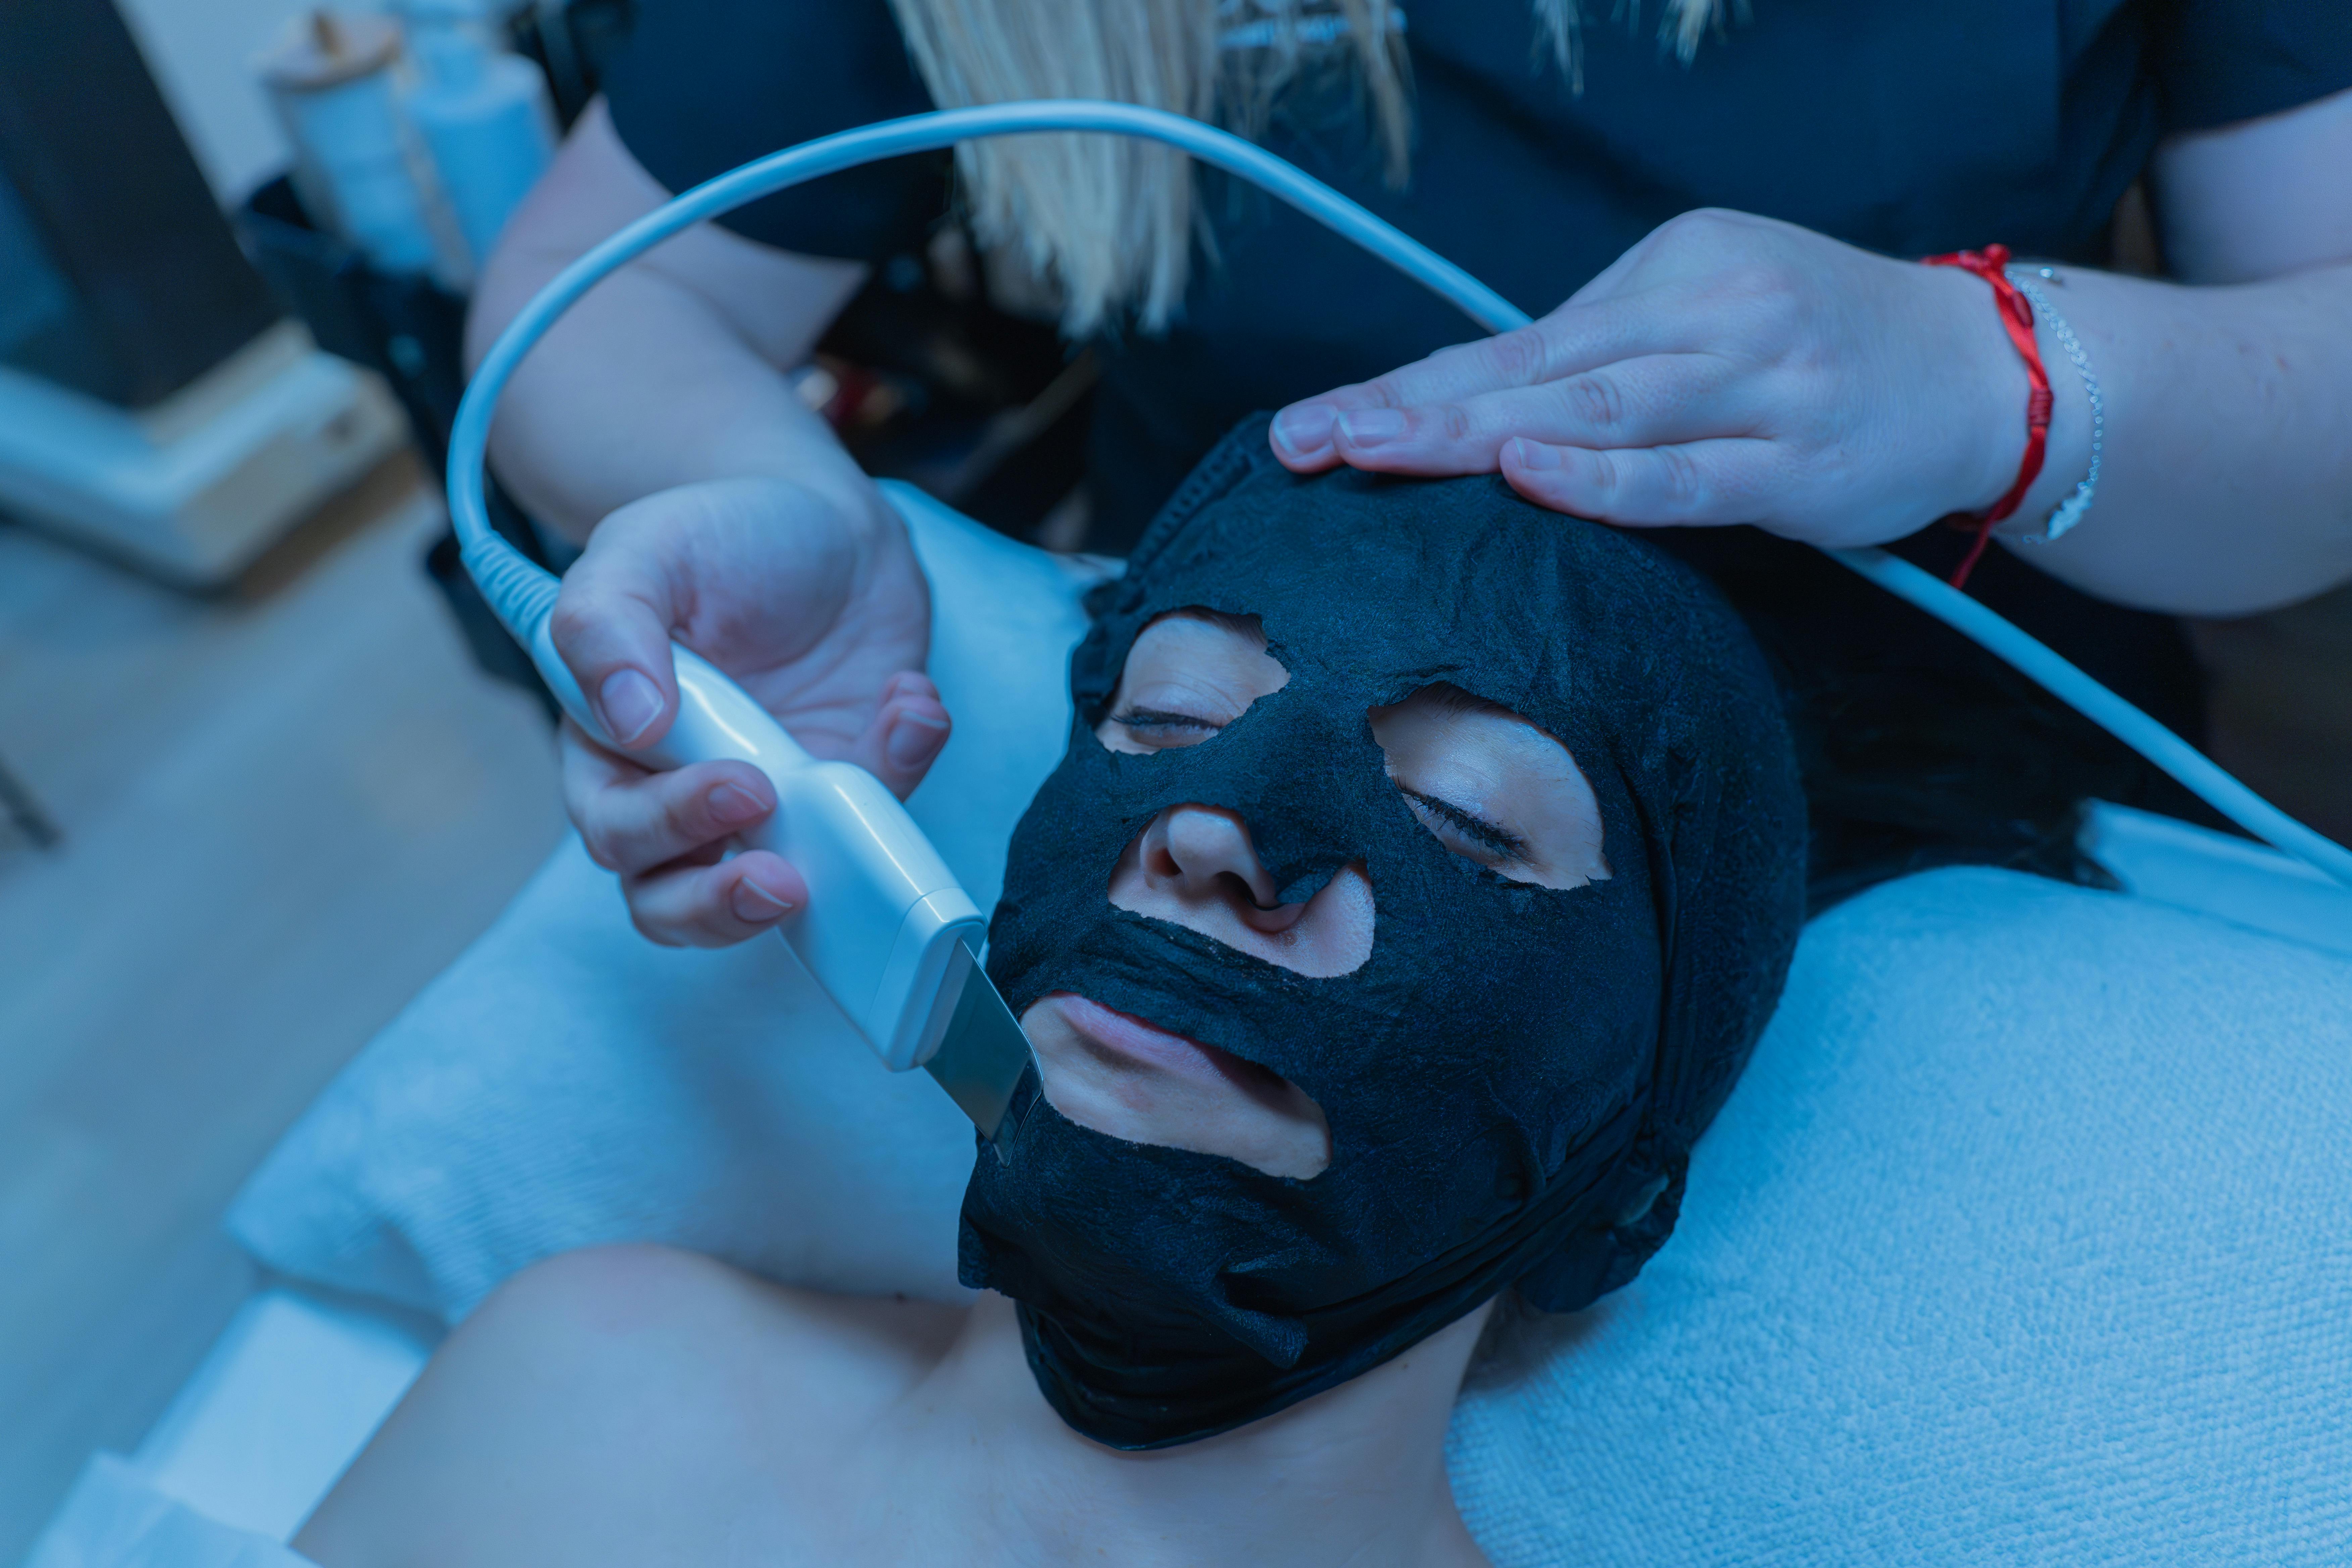
How to Transition Your Skincare Routine with the Changing Seasons for Healthy Skin
As the seasons shift, so do our skin’s needs. I’ve learned that what works wonders in the summer might leave my skin feeling dry and dull in the winter. Transitioning my skincare routine with the changing weather isn’t just beneficial; it’s essential for maintaining a…
Continue reading...
The Best Skincare Ingredients for a Radiant Complexion: Unlock Your Glow Today
Achieving a radiant complexion can feel like a daunting task, but with the right skincare ingredients, it’s entirely within reach. I’ve spent years exploring various products and formulations, and I’ve discovered that certain key ingredients can truly transform your skin. Whether you’re battling dullness, dryness,…
Continue reading...
How to Build a Personalized Beauty Routine That Works for You: Your Ultimate Guide
Finding the perfect beauty routine can feel overwhelming with countless products and trends bombarding us every day. I’ve been there, sifting through endless options, trying to figure out what truly works for my skin and lifestyle. The key to success lies in creating a personalized…
Continue reading...